Hello people, this is jdm714.
You guys know of the Chinese LED Joystick.
http://shoryuken.com/forum/index.php?threads/147445/
Here goes my modding adventure with it.
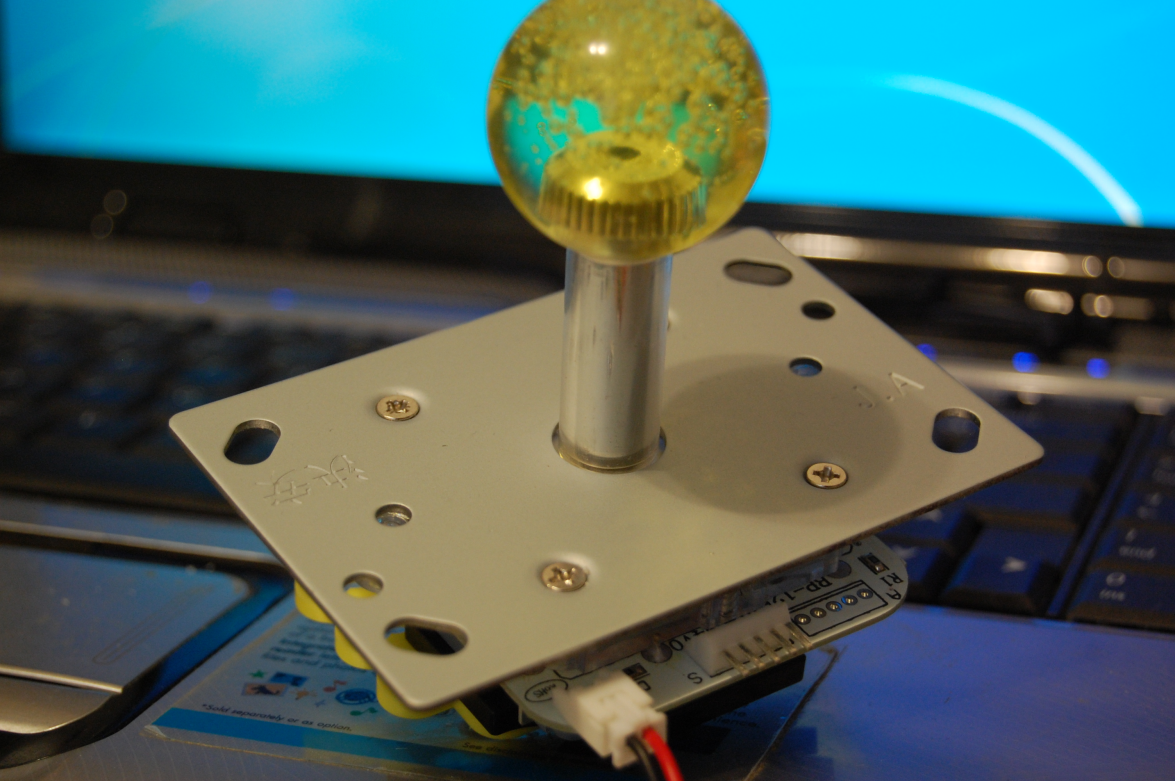
This is stock Joystick.
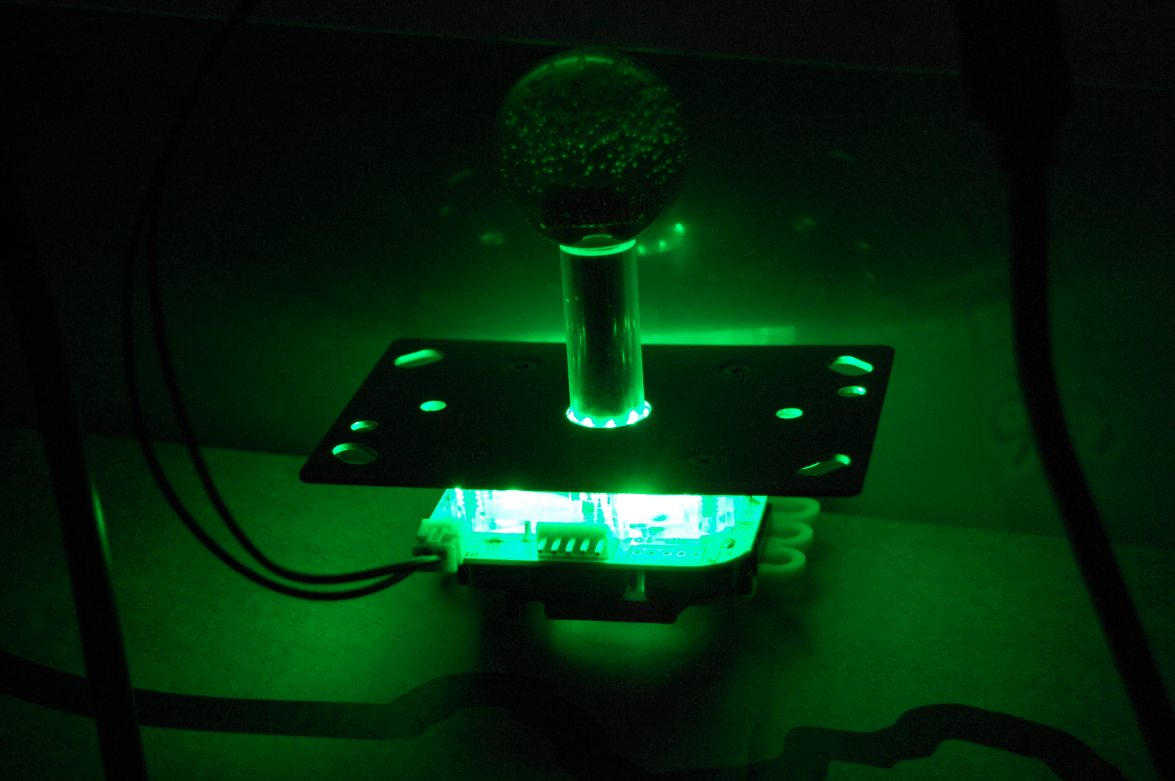
Here is it lit up at the required 12V.
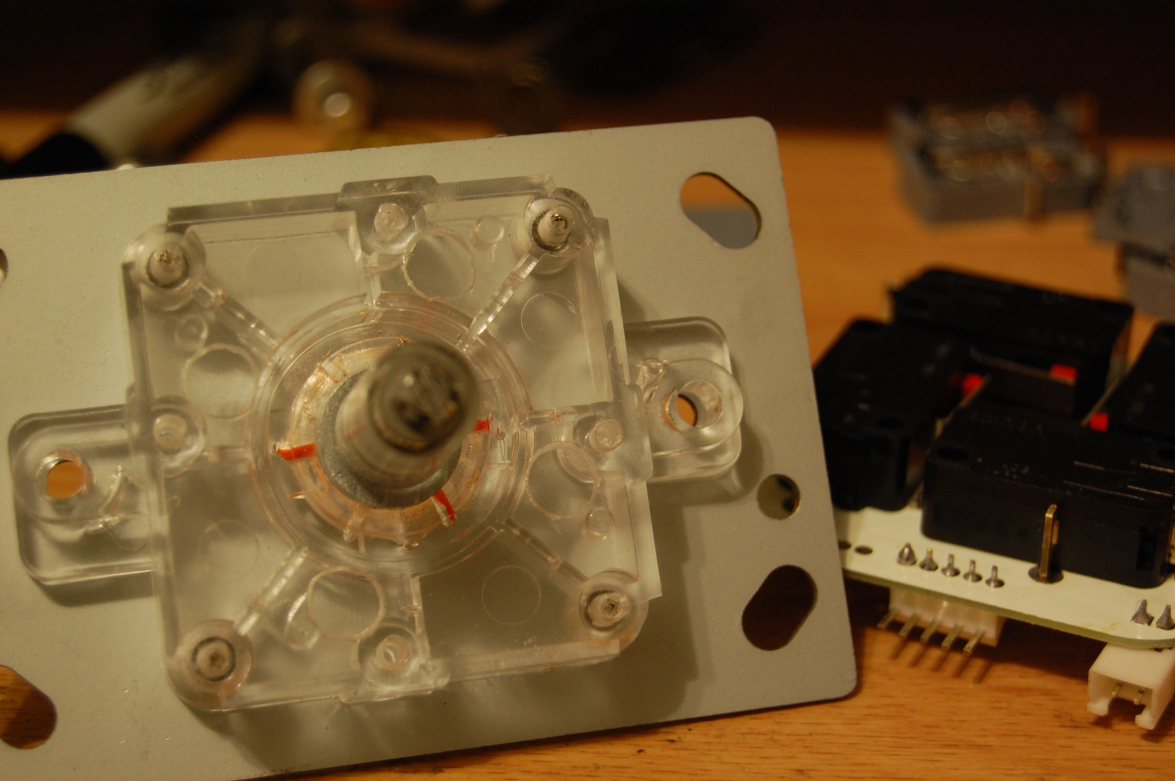
I start by removing the Mounting Plate and unscrewing the Restrictor.
Now I have access to the good stuff.
The main of this mod is to change out the LED.
The stock LED require 12V, getting that in an Arcade Stick is not easy.
So what I want to do is switch the LED to ones that only need 5V, because that is not hard.
Also with this mod, I decided to switch out the Microswitches.
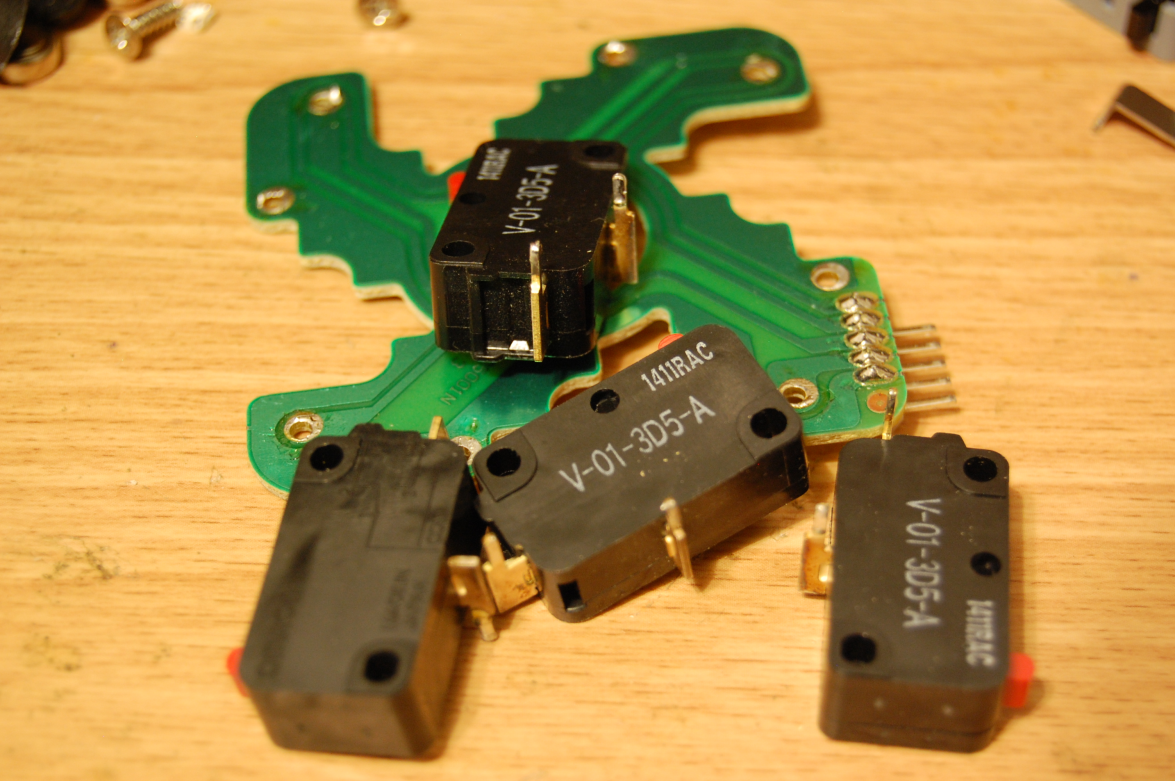
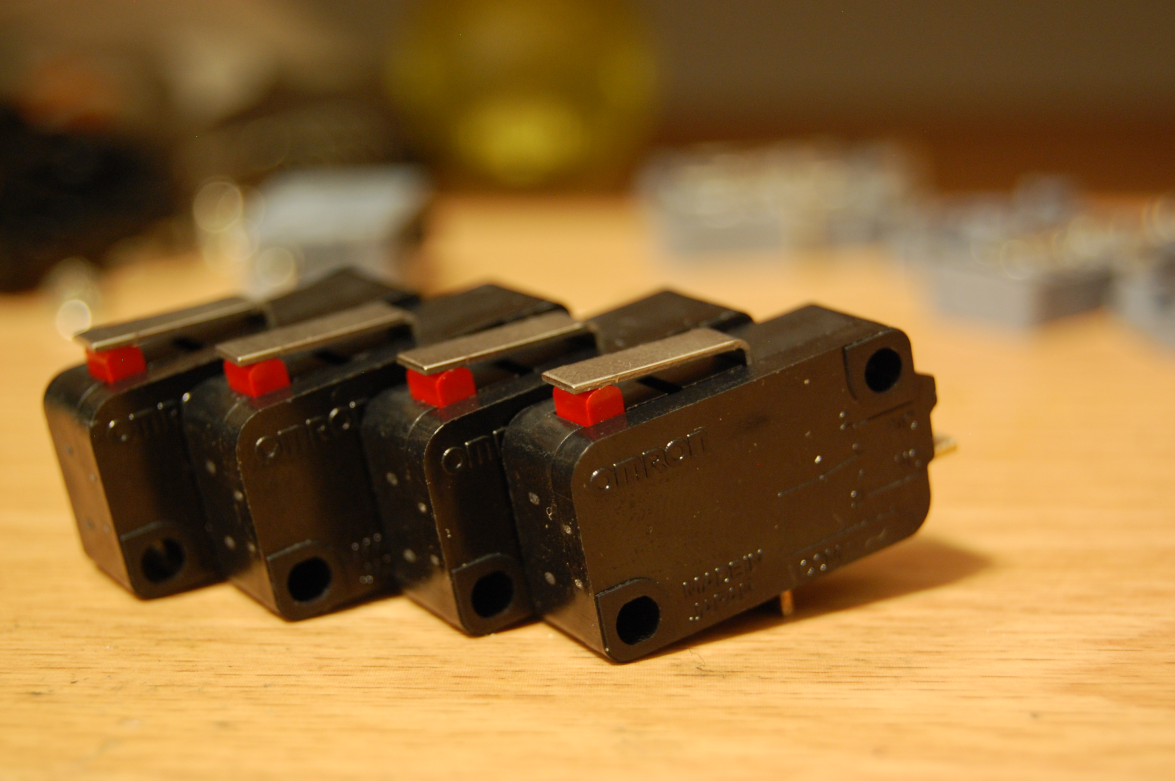
Here is compare to Seimitsu.
Here is compare to Sanwa.
Cannot use the Seimitsu because the PCB pins do not match the China PCB.
Their COM is out a different location and all are upside-down.
The Sanwa is same as China, so I will be using.
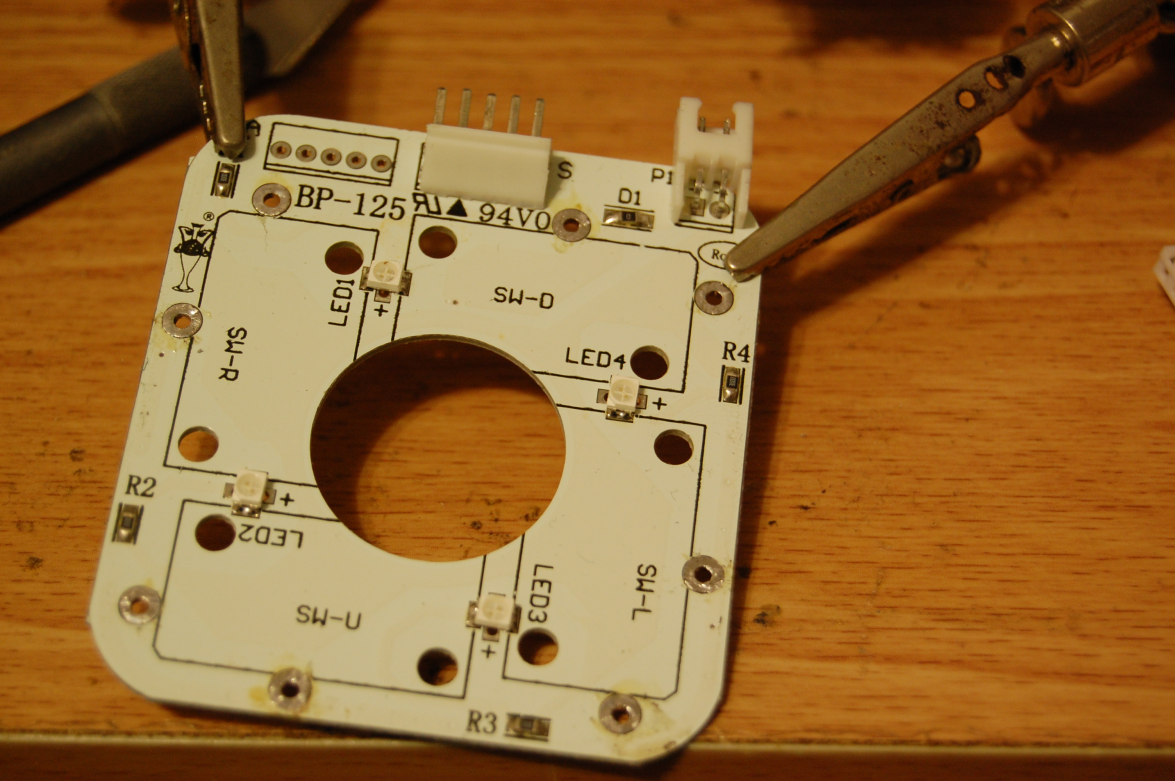
Removed the Microswitches.
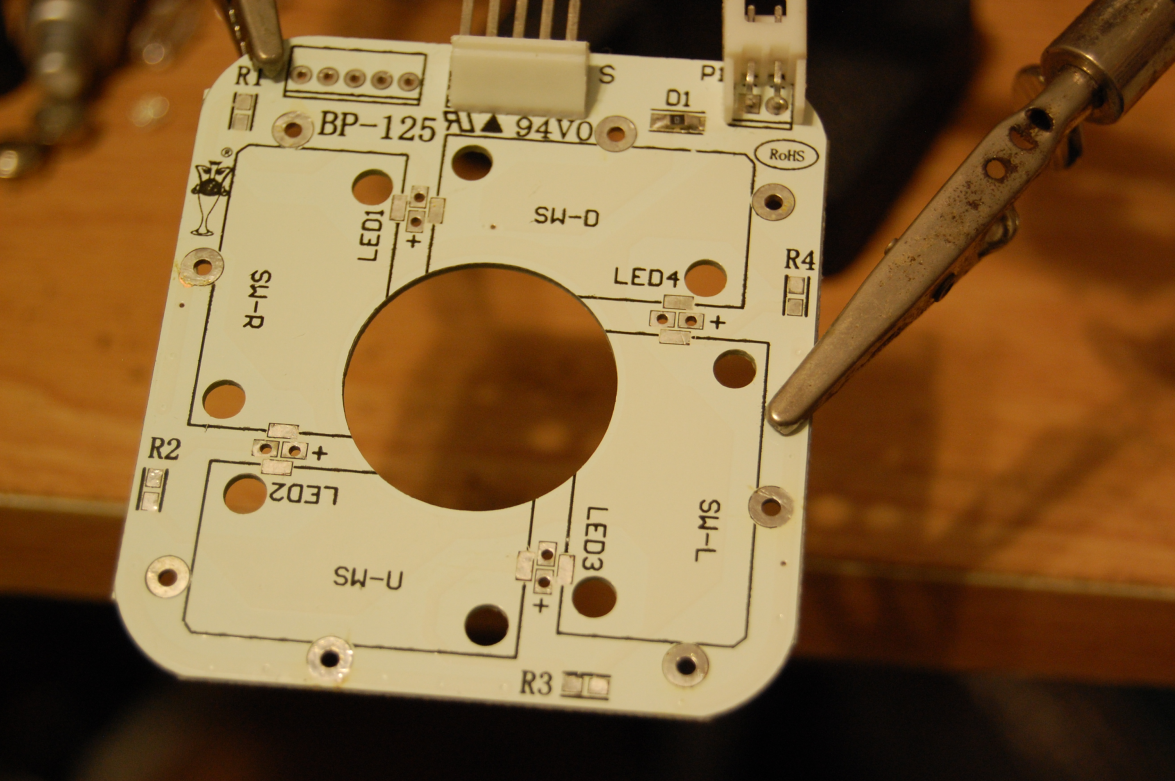
Removed the Resistors.
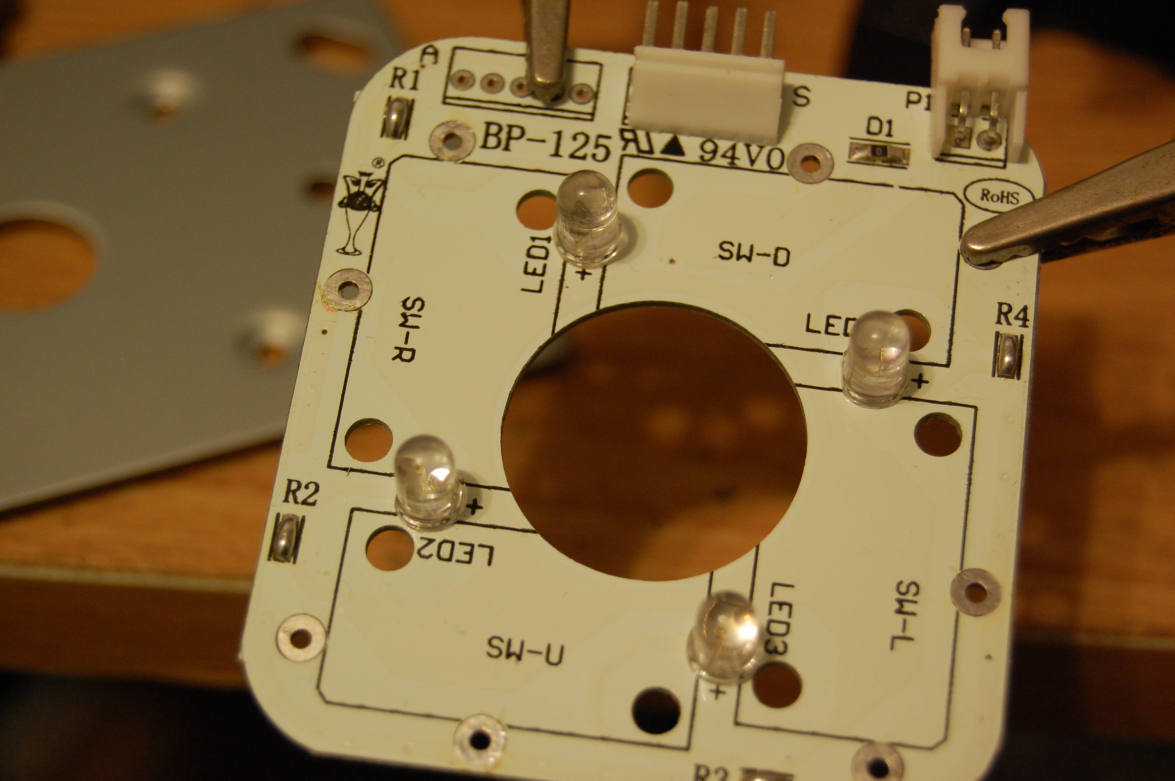
Removed the PLCC LED.
PCB pretty and clean.
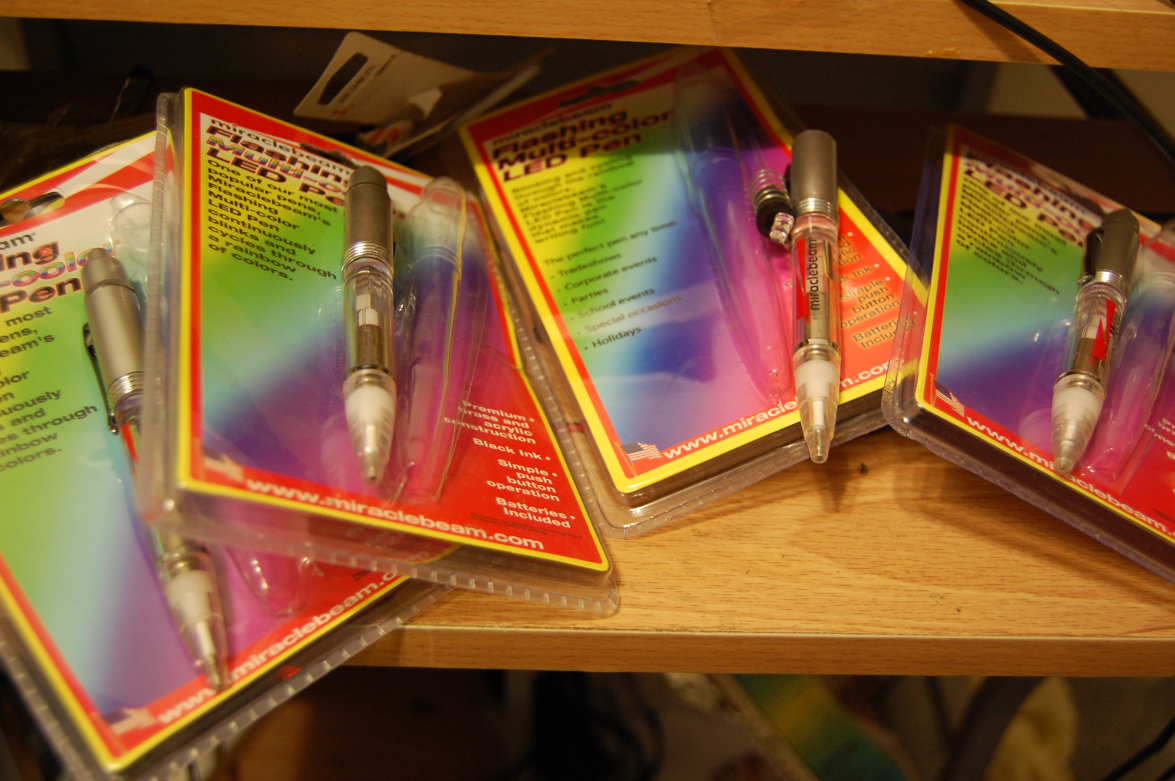
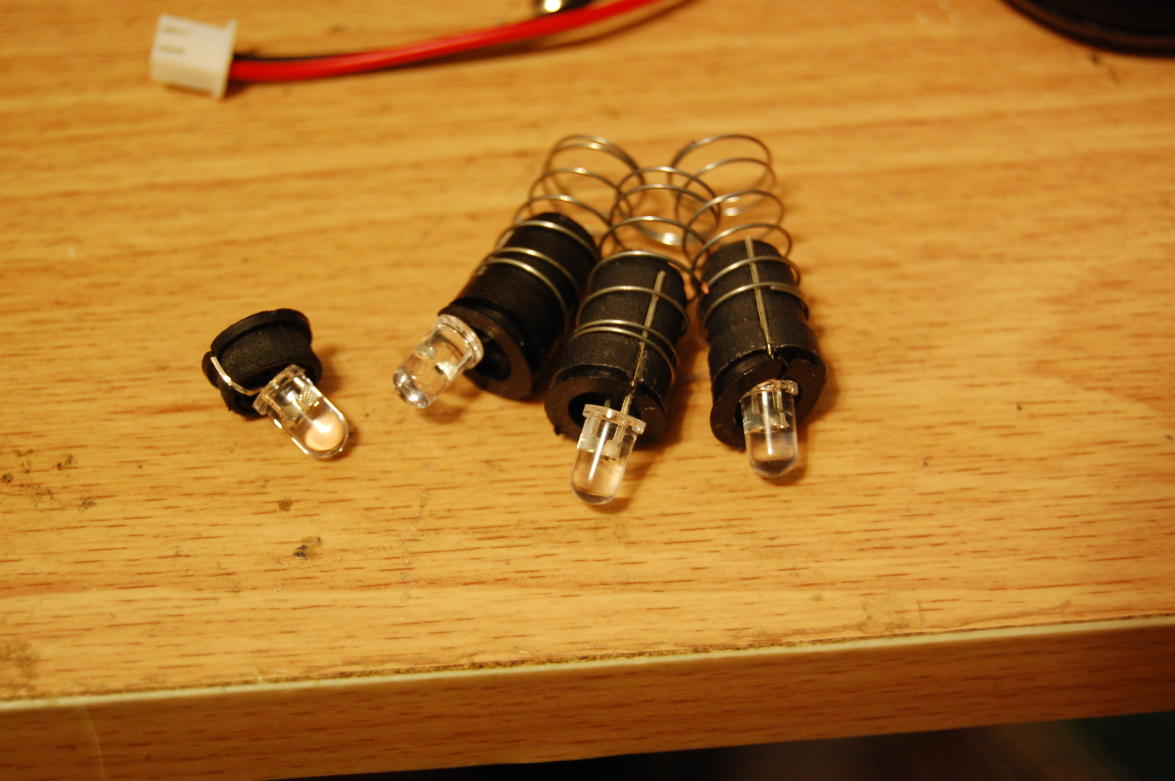
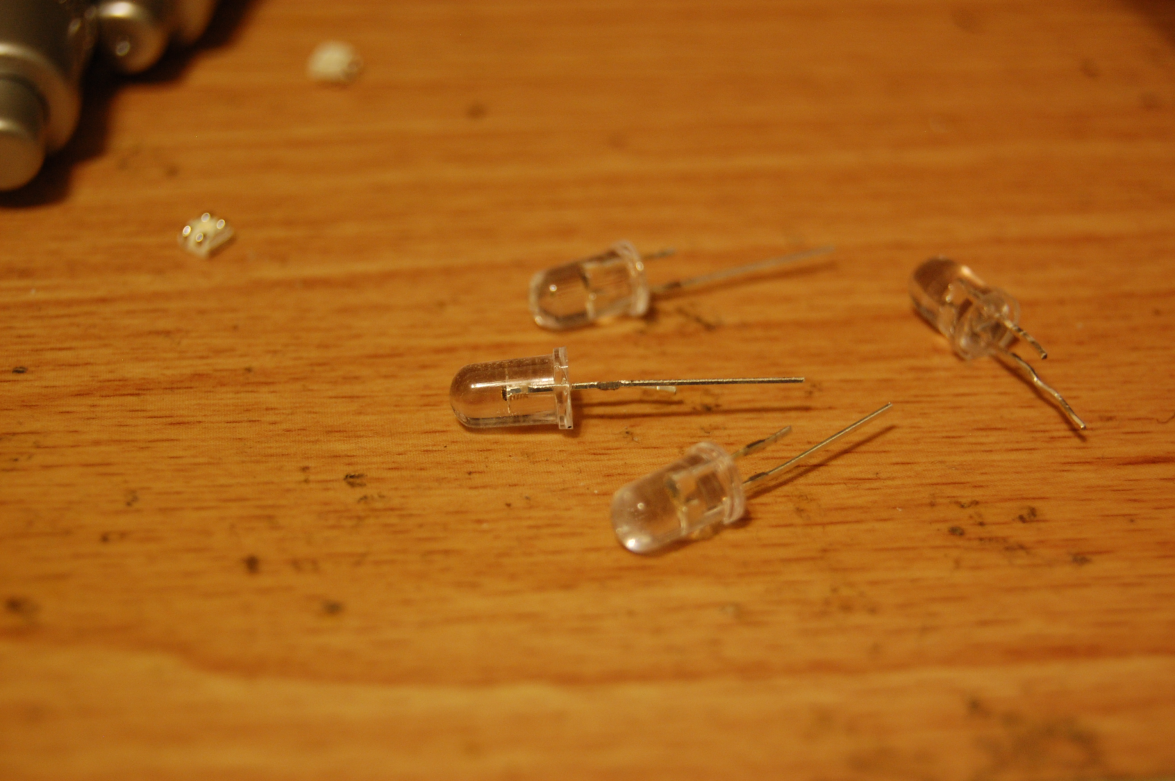
I had these pens, so I use the LED from them.
The LED are Color Changing RGB.
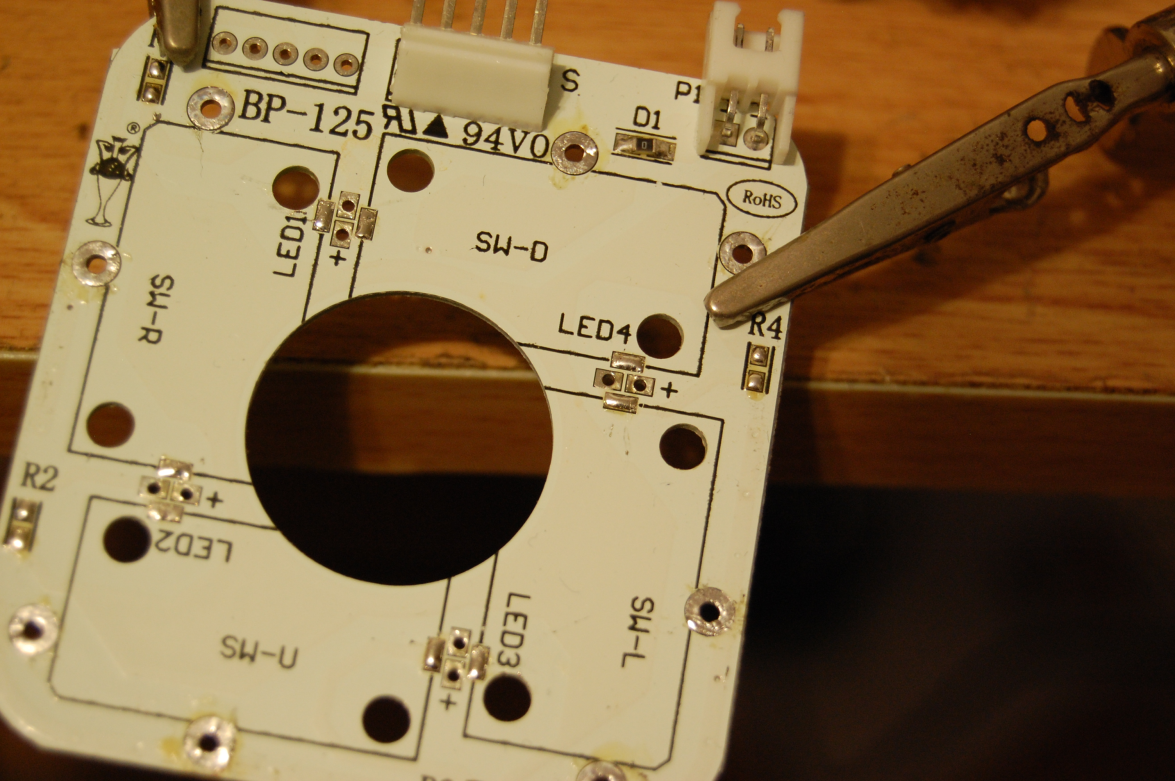
They do not require extra Resistor, so I short the Resistor Pad on PCB.
The LED are connected in Parallel.
So Anode to Anode to Power and Cathode to Cathode to Ground.
The LED are 5mm, and they fit the Base when put back on.
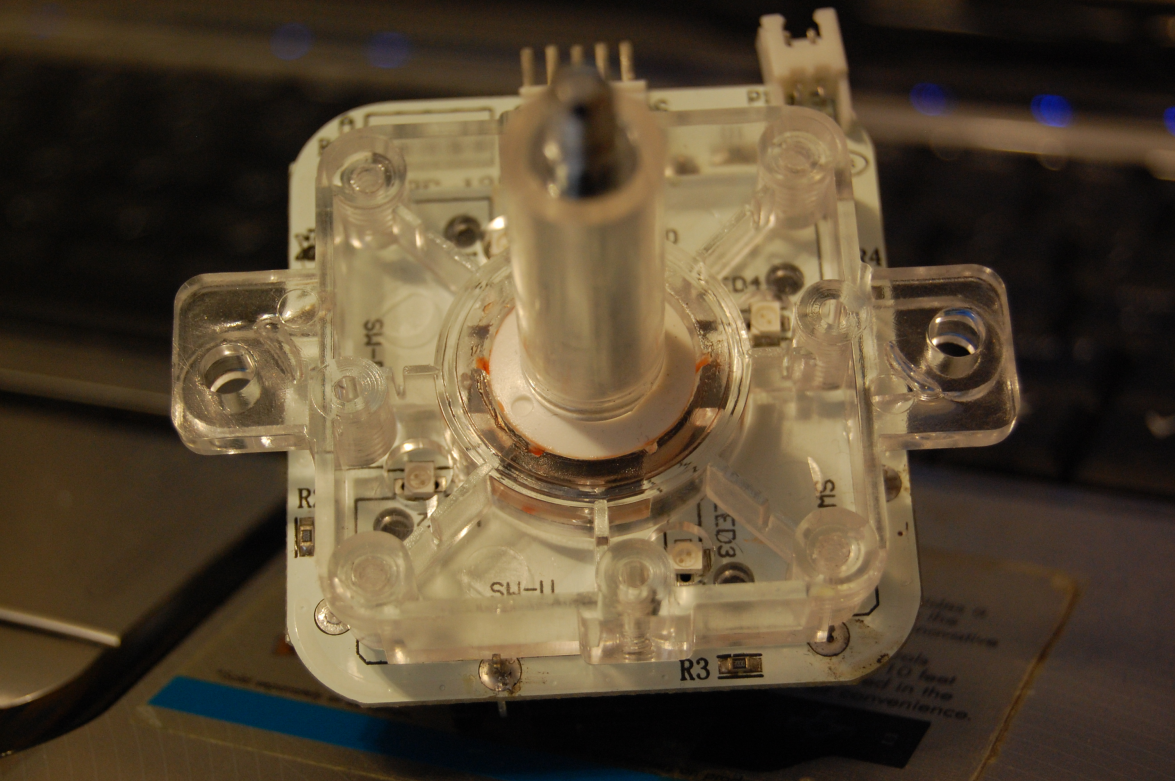
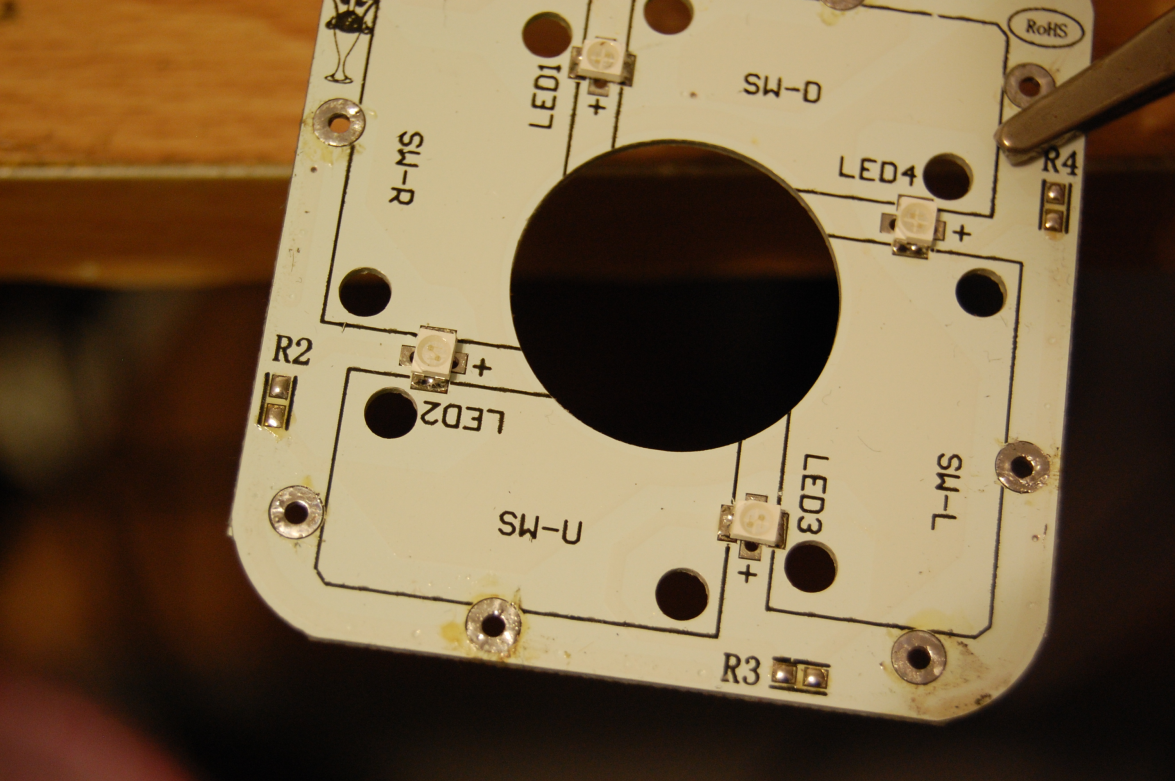
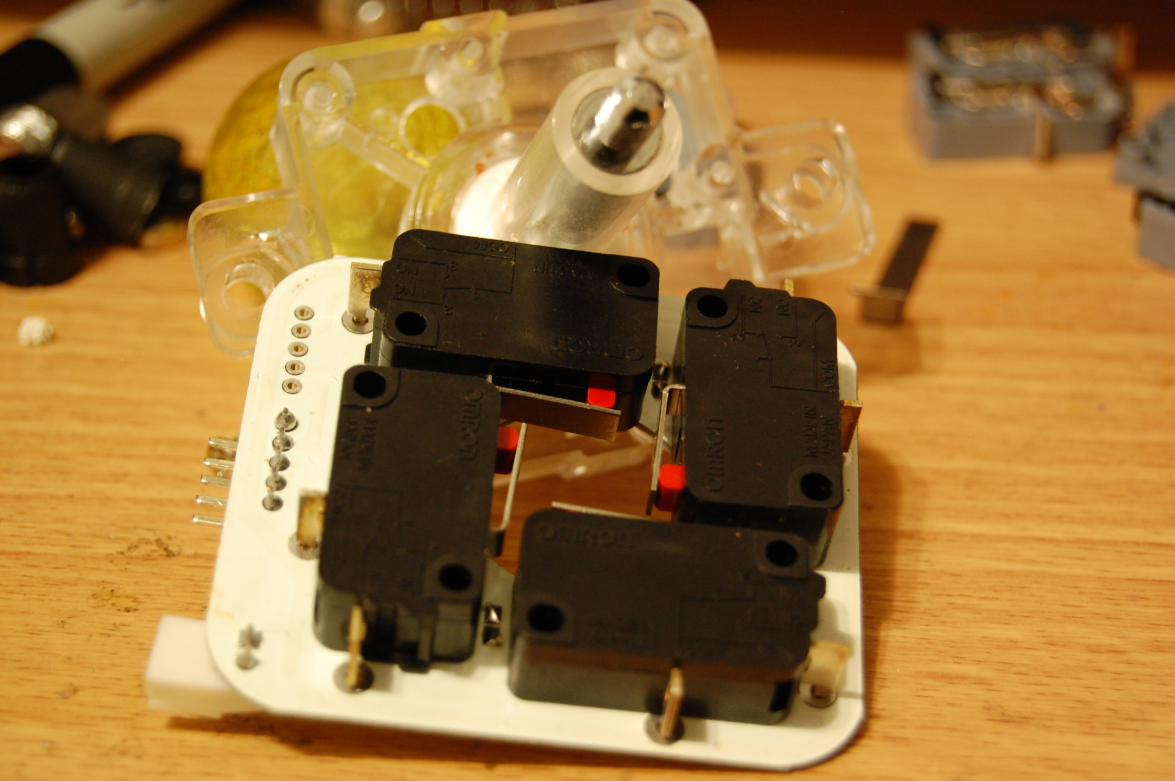
When look at this earlier picture, you can see how the LED would fit.
And also the PCB was designed to accept SMD LED and Through-hole LED.
Now it is time for Microswitches.
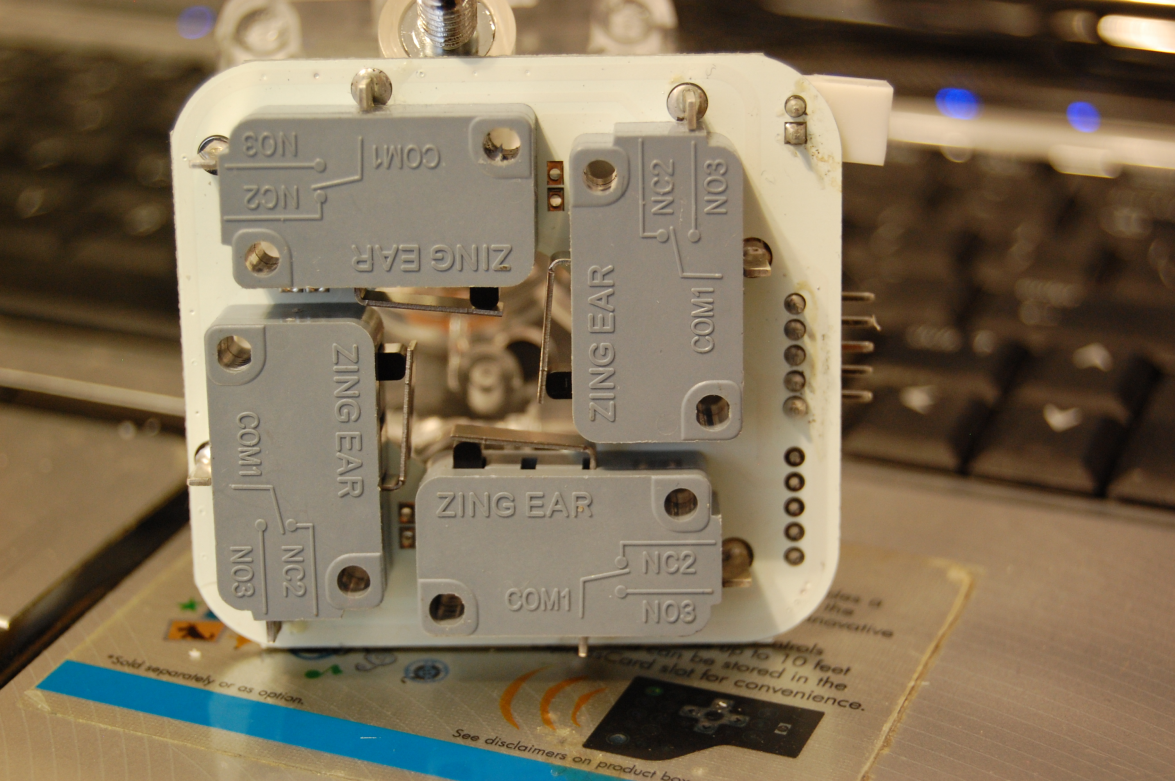
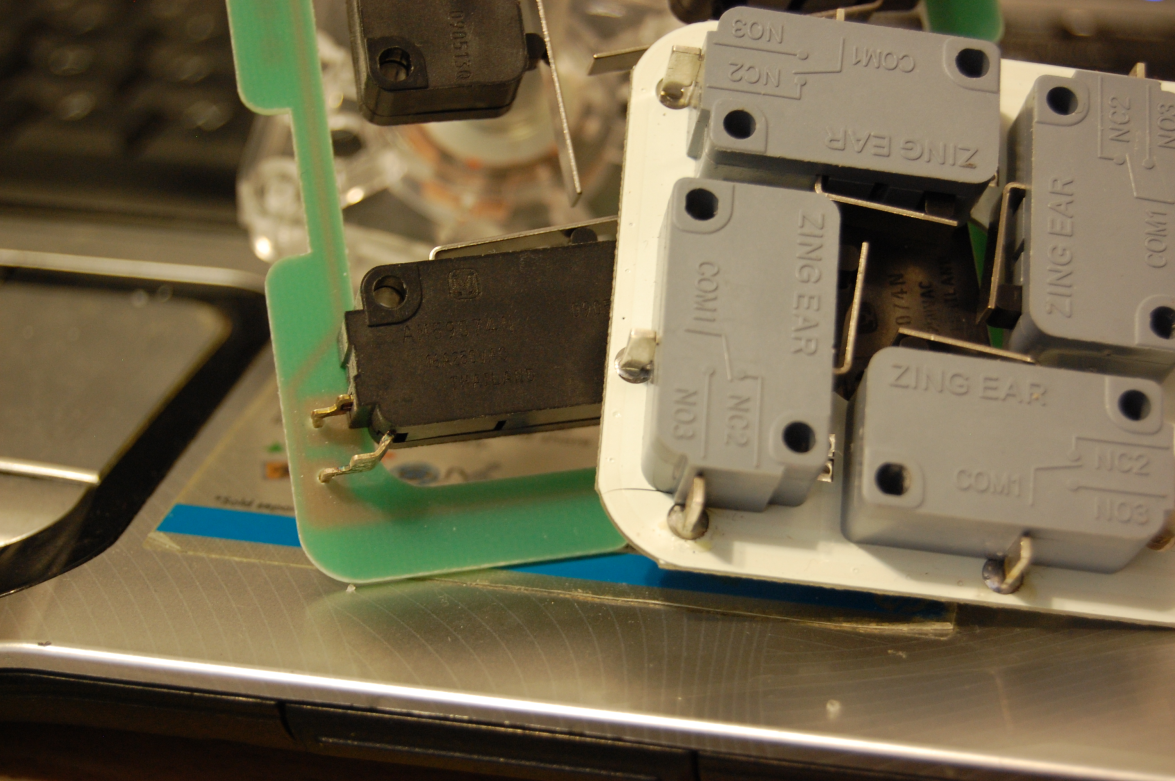
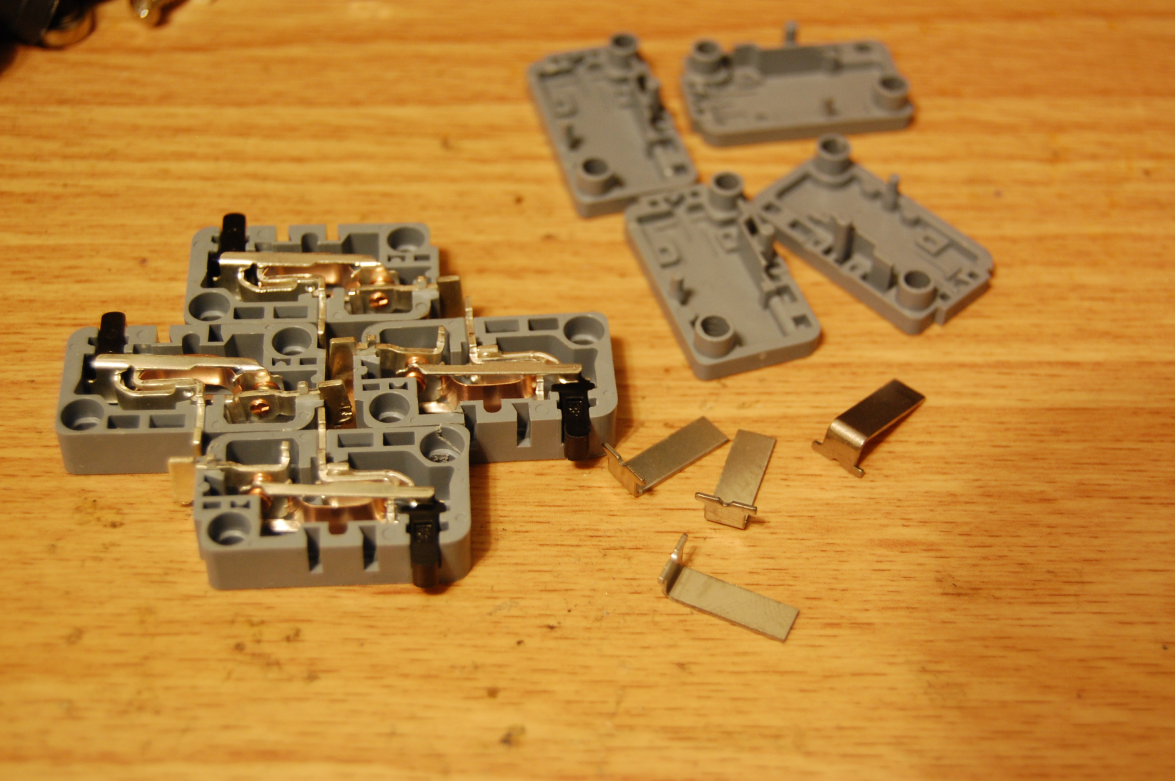
I opened the ZING EAR to remove the Levers.
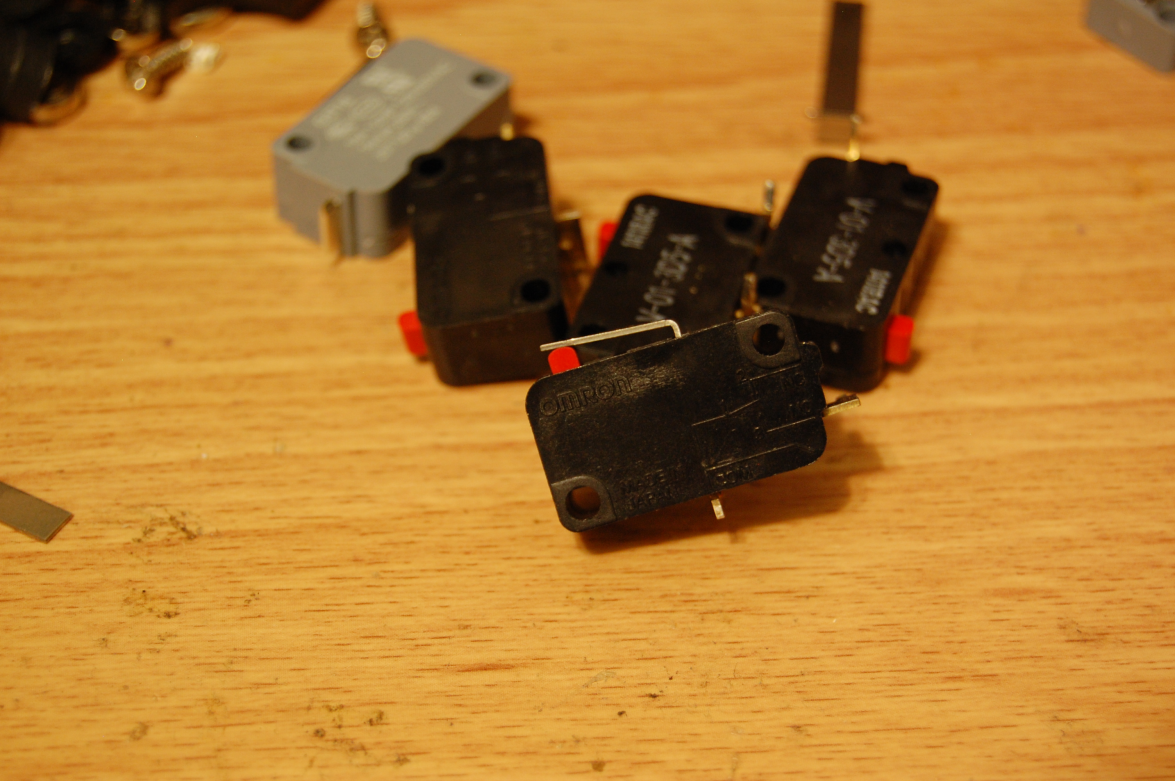
I desoldered the OMRON from Sanwa TP-MA.
Let us transplant!
The OMRON Body was not designed to work with those Levers.
The Levers can switch with Matsushita because the Lever part of the Body is similar.
The ZING EAR Lever can be in the OMRON Body.
But design of the Lever part of Body caused for Lever to press down on the Pin Plunger.
So I had to bend the Lever up slightly, until the Pin Plunger did get back its full movement.
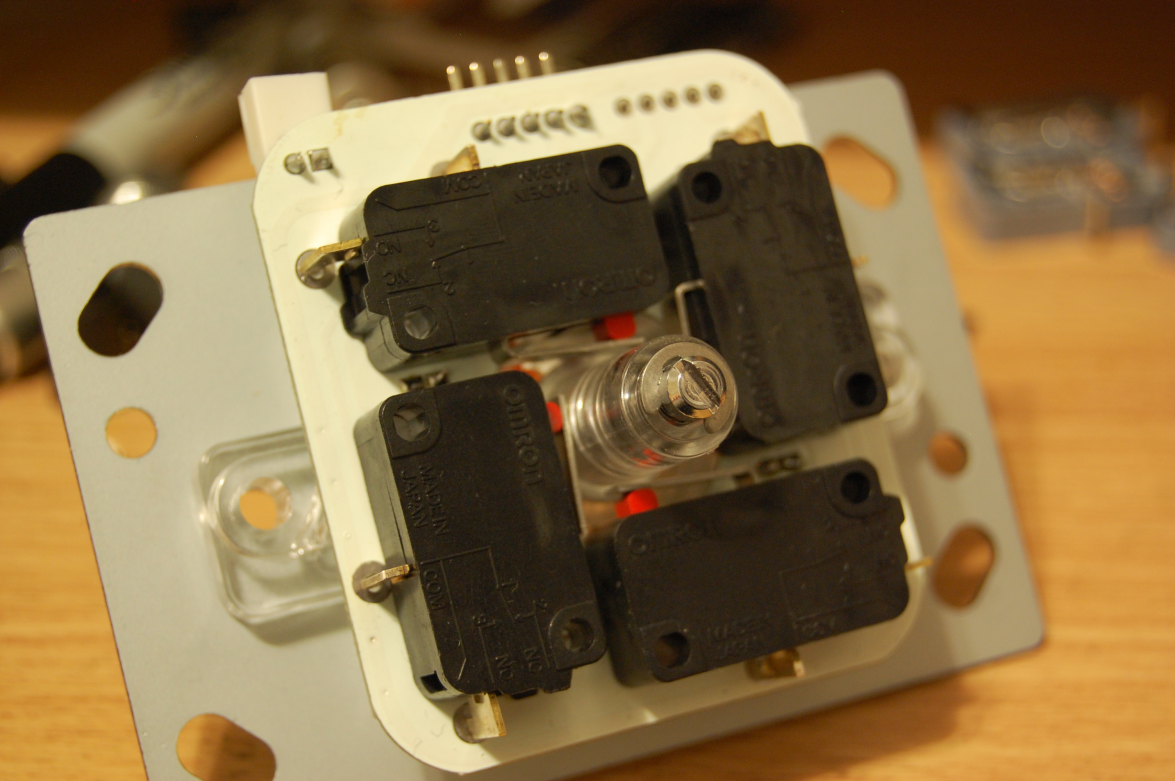
Install Microswitches to the PCB.
Screw the Base onto Mounting Plate.
Put on.
Before modding, the ZING EAR Microswitches had their soldered PCB pins cut flush.
Reason is because the Base gets in the way.
So I have to cut my OMRON ones too.
Everything back.
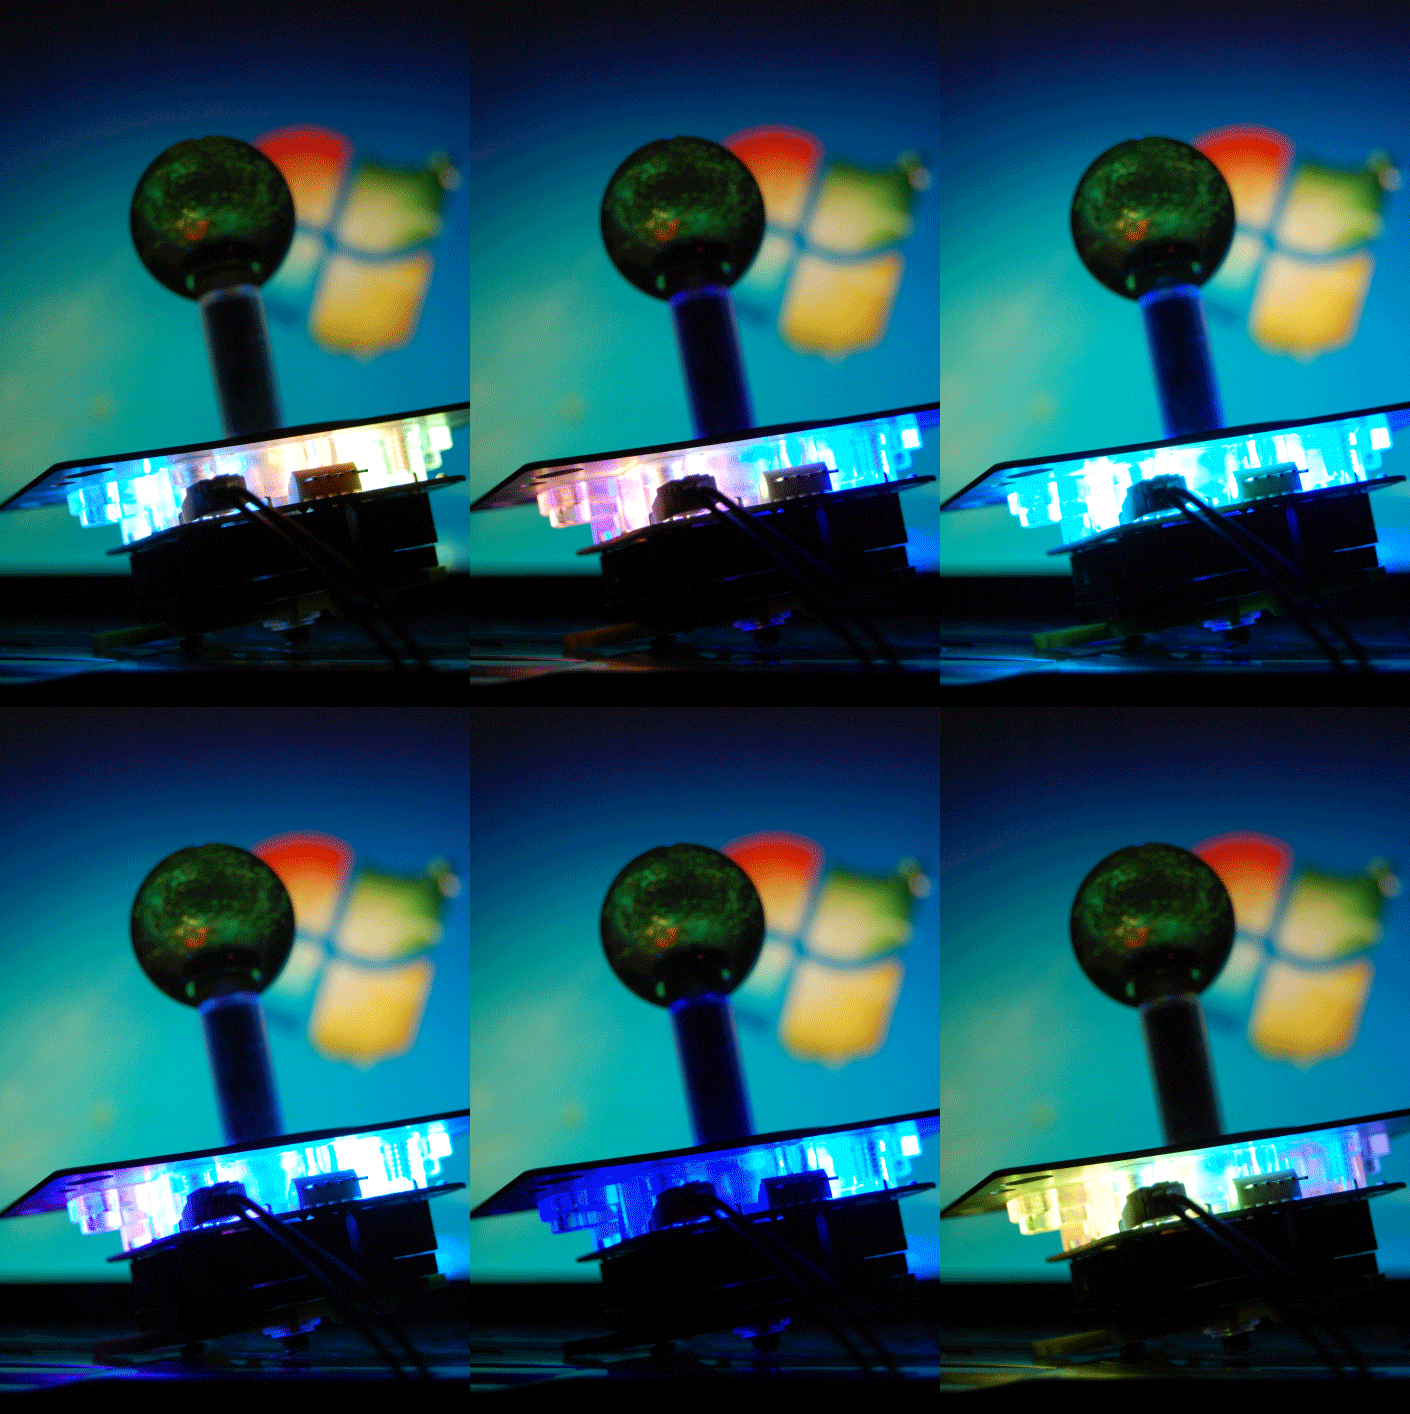
Light show!
This Joystick is very similar to Seimitsu LS-56 Series.
There are parts which can be switch for:
Shaft
Bearing (you call it Pivot)
Spring Receiver (that hat-looking piece)
Spring
Main Guide (black Restrictor)
Sub Guide (from LS-40/55/33)
It was weird to me that this Joystick used a metal washer instead of a clone Spring Receiver.
Very scratchy with the metal washer, so I'm going to swap for LS-56 Spring Receiver.
Can also use the LS-56 Actuator, but then it would not be clear anymore.
I'm also ordering OMRON Short Hinge Levers.
So replace the slightly modified ZING EAR.
