Thursday, August 25, 2011

etokki.com Omni. 3 systems. 1 stick


If you've been following along with the fighting game community for some time, no doubt, you've heard about the rise of fighting gamer player, laugh.  laugh decided that we needed a reliable solid joystick out for the community instead of difficult to obtain and sometimes overpriced mass produced sticks..  Besides dedicating himself to being a top contender in the game, he also contributes by helping out with the community.  His customer service is top notch and 2nd to none.  I have to say, the joysticks were designed and hand mounted with love.  They utilize the professional tools of destruction, paired with a few different internal components and box design that put the Omni in front of some top mass produced competitors.


Back at the lab, I got to test it out.  Xbox360 much?  How about PS3?  And why not complete the trifecta and allow PC?  You get all that in one amazing stick.  And how about Sanwa or Crown buttons and joysticks?  You are actually allowed choices!  Inside the case is a Joytron Paewang Revolution PCB and many top stick builders are utitilizing the Joytron PCB for it's reliability.  Need to switch consoles?  Just hold down the turbo button when plugging it into the console and it'll save the last console used as default.  Simple and efficient in a box.


*Pictures c/o and all rights belong to eTokki.com


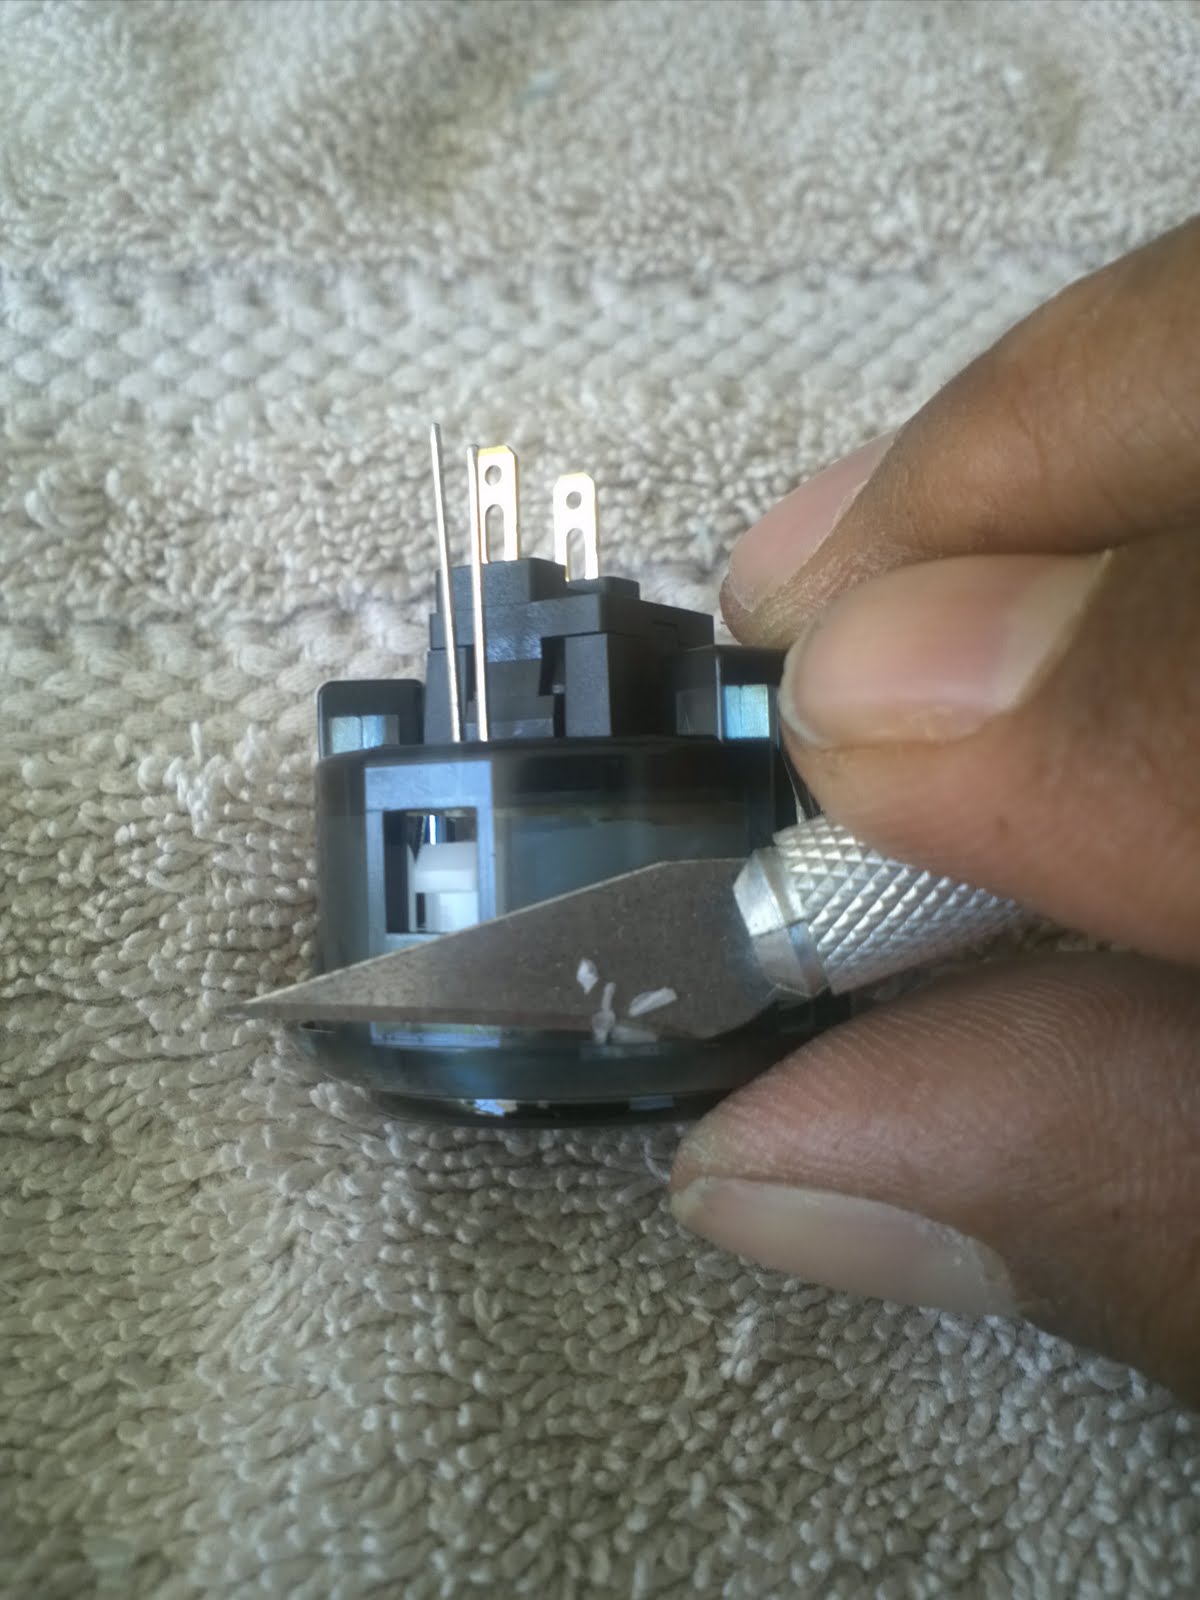
As you can see, there's plenty of space to mod and make the joystick something of your own.  Or just keep it  from factory and play it how it is.  No complaints in this department.  The wiring is easily accessible and nicely organized.  No worries of crimping or knocking any wires loose.


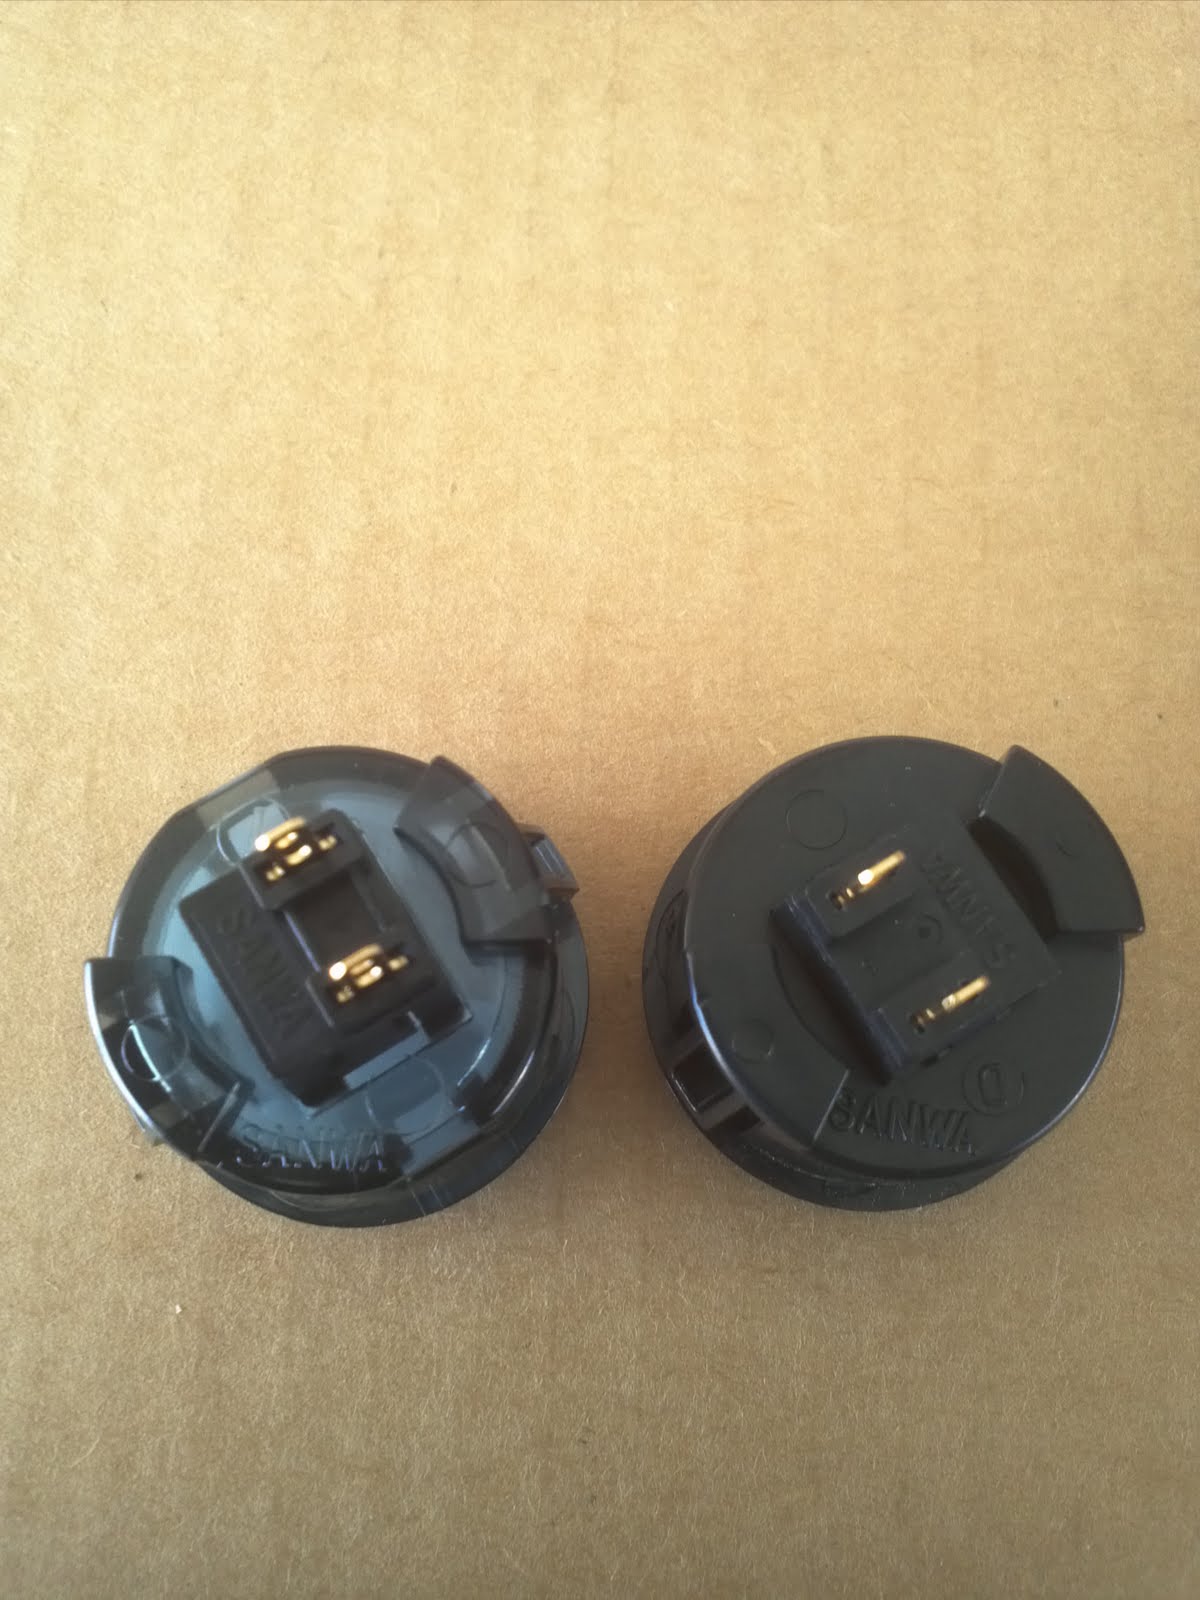
The Omni will come in two renditions: the Korean Edition (KR) and Sanwa Editioin (SE).  If you've experienced Sanwa buttons, then they can be described as the "Rick Flair"** of noisy buttons at times due to their hollow echo when tapping the plunger.  Playing and mashing out at 3AM will wake up the neighbors and most importantly, girlfriend and family members.  Enter Crown buttons which I thought were more like my man, "Undertaker"**. The Crown buttons emit muffled clicks that actually sound 50% quieter than Sanwa buttons.  All business and better yet, no complaints from the wifey!  Crown CWB203A buttons are approximately 7mm less in width compared to Sanwa OSBF-30(mm).  These are highly responsive buttons that are used in the majority of arcade cabs around Korea.  Korea is serious about their Tekken.  The KR joysticks feature Myoungshin Fanta joysticks.  Highly regarded and have great response on them as they use a rubber grommet to give tension to the joystick.


That's not to talk down the Sanwa Denshi parts.  They're tried and true.  They're a J&J favorite and have always performed their best.  The Sanwa Edition arcade stick uses the Sanwa JLF-TP-8YT-SK and there's no short cuts in parts.  It's layed in a vewlix-style layout to be more universal for most players.  If your sticks to mimic the arcades, then 6 buttons are the way to go.  8 buttons are a no-no around here and 7 is even a stretch.  We only had one button plug for the Korean Edition!


It is scheduled to be released at the end of August.
Pre-order it now! Omni: Arcade Stick
eTokki Website: http://www.etokki.com
SRK eTokki forum thread: http://shoryuken.com/forum/index.php?threads/etokki-com-the-shop-for-the-players-by-the-players.92714/page-26

**WWF character references.  I miss my childhood.

Thursday, August 18, 2011

LED MOD for Sanwa Clear Pushbuttons

Hello All! Blindwithonearm here to post a quick tutorial for the Sanwa Clear pushbuttons using Toodles KNsert LED's.

The Sanwa Clear pushbutton feels the same as a standard OBSF-30... they do make a little more noise than stock Sanwa's due to the plastic used but the sensitivity is the same as the standard Sanwa so this is a great pushbutton for those that want to put a little "bling" into their competition sticks without losing the feather feel of the Sanwa OBSF-30.

First off this is just a quick guide to modding a clear sanwa button using Toodles KNsert LED's... there are other ways to do this and by no means should this be your only option to installing LED's into your sanwa pushbuttons... This is just how I do my LED mods and my experience at modding these new sanwa's that just came out.

The first thing you will notice is that the mold for the clear pushbuttons are the same as the OBSF-30


This is something you have to consider when you are choosing what type of LED you want to install... I chose the KNsert for this project... it was small enough to fit into the casing and the LED's were close enough to the center of the housing that it did not interfere with the plunger when the button was pressed... 
Installation:
First thing is to take the pushbutton apart... you will see the white plastic prongs that belong to the plunger... just a little pressure with a small screwdriver on both sides one at a time and the top piece will come off... the microswitch is help in place by small pressure tabs that when squeesed together gently the switch can be pushed out... all three pieces should look like this...

look at the bottom of the pushbutton you will notice in the mold there are two distinct circles on the surface... one with a number inside the circle and the other is blank with the logo "sanwa" next to it... I chose the "blank" circle to drill a hole into the push button for the installation of the knsert... the reason for this is there is a gap in the white plunger that  line up with the holes on either end of the base... that "gap" is a great place for your soldering of the KNsert's VCC and GND... there is enough room to have no issues with the soldering and the plunger function when pressed...
I used a 1/8" drill bit to create the hole in the housing... this is also the correct size one should use if you chose a 3mm LED to be placed instead of a KNsert...


Once the hole is created the microswitch should be placed back together...

 **WARNING**Make sure that you have already soldered the wires to the KNsert... once you install them into the pushbutton it will be very difficult to solder afterwards...

With that said... the knsert should be glued to the inside base of the pushbutton... SUPERGLUE is suggested... hot glue is too thick and will cause problems with the plunger.

Once the glue is dry the Knsert will not move around the base and it is time to put the pushbutton back together. the final outcome should look something like this... (I use prongs but wires are more commonly used)...
 LAST thing before you install your new MODDED clear sanwa pushbuttons into your case is that if you use acrylic covers such as Arthong's plexi covers for the TE series... you NEED to shave off the little tabs around the button like you would a normal OBSF-30... if not you will damage the plexi...


There you go! my method of installing LED's into the Sanwa Clear Pusbutton... the only thing you have to do now is install it into your case with the addition of an LED controller or any other method of LED usage that is posted in SRK Tech Talk
I know this was a quick guide... if you need more assistance hit me up with a PM/conversation on SRK.com
 Hope this was helpful to those new to LED's and still thinking of ways to LED the new sanwa's...As with anything to do with modding... if you are unsure of your skills with a soldering iron and a drill hit up an experienced modder to install your LED's... Purchasing the amount of pushbuttons, wires, controller board, LED's is expensive and people that are not comfortable with modding should get help from the more experienced modders... J&J SoCalModding is always ready to help your modding needs.
Thanks for looking!


Blindwithonearm
J&J SoCal Modding


Wednesday, August 17, 2011

Thanks 2 Phreakmods

Check out Phreakmods interview with PowerUp.  Great interview from someone within the Shoryuken.com community.  Phreak talks about his ups and downs, beginnings of modding, and where he's going with his current ideas.  He mentions all knowing JDM and BlindWithOneArm  =) @ 35:00 and 37:50
http://www.powerupfighters.com/2011/08/powerup-podcast-episode-63-phreak-mods/

Please visit: Phreakmods @ http://www.phreakmods.com/
picture c/o of PhreakMods (Please let me know if you would like it removed)

Wednesday, August 10, 2011

Welcome BlindWithOneArm to J&J.


He's blind.  He's with one arm.  He's the man!  BlindWithOneArm. You may have seen his awesome talents around shoryuken.com among Tech Talk.  If you need any modding done, jdm714 and BlindWithOneArm will be available for wiring and making sure your joysticks shine bright.


Pictures c/o BlindWithOneArm

Tuesday, August 9, 2011

All Hail the Omni!

Soon production home arcade sticks will be given a change in standards. laugh ala etokki.com was recently at a SSFIV AE release tourney showing us how it's done with his footsie playing plasma-blasting masterful Ryu.  He was knocking them back on his soon-to-be-in-production ultimate Omni arcade stick. This particular stick uses a Myoungshin/Fanta joystick and Crown CWB buttons. They will have a Japanese counterpart available to release as well. Stay tuned for a j&j review.